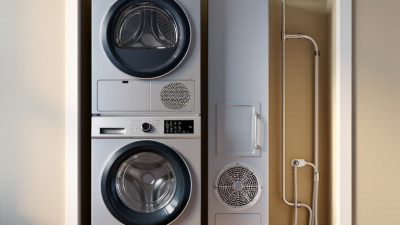
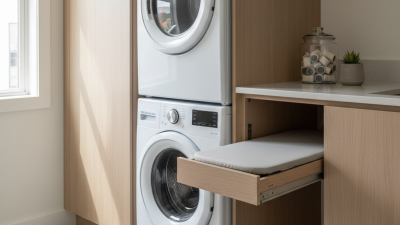
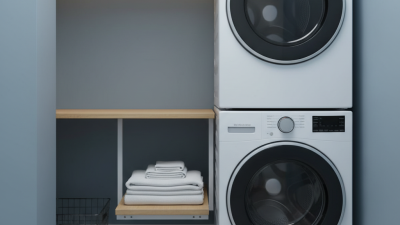
How to Stack a Washer and Dryer Safely?
Stacking a washer and dryer can save valuable floor space, but it is not simply a matter of placing one machine on another. The pair must function as one stable, properly secured appliance system. Paul Hope, a home-appliance expert at Consumer Reports, offers a useful safety principle: “The installation manual is the final authority, not a generic internet diagram.” That warning matters because models can look similar while using different stacking requirements.
Before starting, confirm that both appliances are approved for stacking. Check their model numbers, dimensions, ventilation needs, and the manufacturer’s stacking kit. A universal-looking bracket may not fit correctly. The floor should be hard, level, and strong enough to support both machines during high-speed spinning. Even a small tilt can create loud movement, shifting, or damaged connections.
Remove the dryer’s shipping materials and place it above the washer only with suitable lifting help. Do not improvise with plywood, loose brackets, adhesive pads, or furniture straps. Secure every fastener tightly, then test the washer with a small load. Watch the corners. Listen for repeated knocking. Stop immediately if the cabinet moves.
The overlooked detail is often the door and hose clearance. A neat installation can still fail when a drain hose bends sharply or the dryer vent is crushed. I would also question the assumption that “level” means “safe.” Stability requires correct hardware, careful measurement, and a final inspection. If the machines are heavy, the floor is uneven, or the instructions seem unclear, a qualified appliance installer is the safer choice.

Check Washer and Dryer Compatibility Before Stacking
How to Stack a Washer and Dryer Safely?
Before stacking, confirm that both appliances are designed to work together. A washer and dryer may have similar widths but different frames, controls, or weight limits. Check their installation manuals for approved combinations and the required stacking kit. Do not rely on appearance alone. A tape measure is not enough. Verify the washer’s top surface, dryer base, cabinet depth, and total height. The dryer should sit securely on the washer, never the reverse. Both units must also match the available power, ventilation, and drainage setup.
Tips:
Place the washer on a solid, level floor. Check that it does not rock during a spin cycle. Inspect the stacking kit for every bracket, screw, and locking point. Tighten each fastener carefully, but do not force damaged hardware. Leave enough space around the appliances for hoses, airflow, and service access. Keep the doors clear of nearby walls. A crowded corner can make small repairs surprisingly difficult.
In practical installations, vibration is often the warning sign people ignore. Run a short spin cycle after stacking and watch for movement. If the dryer shifts, stop immediately and recheck the frame and leveling feet. I used to think matching dimensions solved most problems. It does not. Floor strength, ceiling clearance, and safe lifting matter too. When the manuals disagree, pause and ask a qualified installer to inspect the setup.
Gather the Required Stacking Kit and Safety Equipment
Before stacking a washer and dryer, gather the correct stacking kit and safety equipment. The kit should include compatible brackets, spacers, fasteners, and installation instructions. Do not substitute screws or use loose plywood. The washer must support stacking, and the dryer usually belongs on top. Check both manuals carefully. Compatibility is not universal.
Wear cut-resistant gloves and safety glasses. Prepare a level, a screwdriver, a wrench, and a stable appliance dolly. Unplug both machines before moving them. Shut off the water supply, and keep the power cords away from sharp edges. A level floor matters because vibration can loosen connections over time.
The U.S. Fire Administration’s Residential Building Fires Involving Clothes Dryers and Washing Machines report recorded 15,970 dryer-related fires from 2014 to 2018. That report also links many dryer fires to restricted airflow and neglected maintenance. A secure stack still needs a clean vent and proper clearance.
Tips: Measure doorways and stair turns before delivery. Use two people for lifting, not one strong person. Install every bracket shown in the kit instructions. Recheck the level after one test cycle. This step is easy to skip. Listen for unusual movement. If the unit rocks, stop using it and correct the problem. Gas connections, damaged cords, or uncertain wall clearances deserve qualified professional inspection. A small mistake here can become expensive.
Prepare the Laundry Area and Position the Washer
Before stacking a washer and dryer, prepare the laundry area as if it were a small worksite. The floor must be solid, level, and able to support both appliances. Concrete is ideal, but a wooden floor can work when its framing is sound. Remove loose mats, stored boxes, and anything that could block the washer’s movement during a spin cycle. Keep the water shutoff valves reachable. Do not hide them behind the stacked unit.
A professional installer checks the washer before lifting anything above it. Adjust each leveling foot until the cabinet sits firmly, with no rocking when pushed at the corners. Connect the drain hose without sharp bends, and leave enough space for the water lines. Energy Star reports that efficient clothes washers use about 25% less energy and 33% less water than standard models, but efficiency cannot correct poor installation. Measure the doorway, alcove, and ceiling height. I once underestimated the door swing; the washer fit, but servicing it would have been awkward.
Only stack appliances approved for that arrangement. Use the specified stacking hardware, not improvised brackets or shelves. The washer belongs on the bottom because its heavier, moving load creates the greater force. The U.S. Consumer Product Safety Commission has linked washer and dryer use to thousands of residential fires annually, with lint, poor maintenance, and installation issues contributing to risk. Leave access for cleaning and inspection. A tight fit may look neat. It may also hide a leaking hose.
How to Stack a Washer and Dryer Safely?
Prepare the Laundry Area and Position the Washer
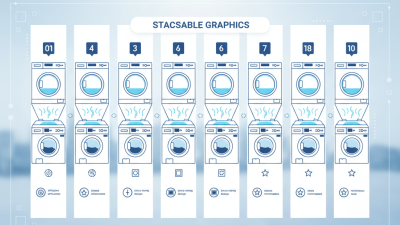
These practical planning targets help provide room for ventilation, connections, inspection, and safe access around a stacked washer and dryer. Clearance requirements vary by appliance and installation type, so always confirm the exact measurements in the appliance installation manual before stacking.